

Back
How to add products using a spreadsheet
How do I add products using a spreadsheet?
If you are adding or repricing more than a handful of products, the spreadsheet importer is the quickest way. It walks you through four steps: edit your products, input your data, upload your product list, and preview your data before anything changes in your store.
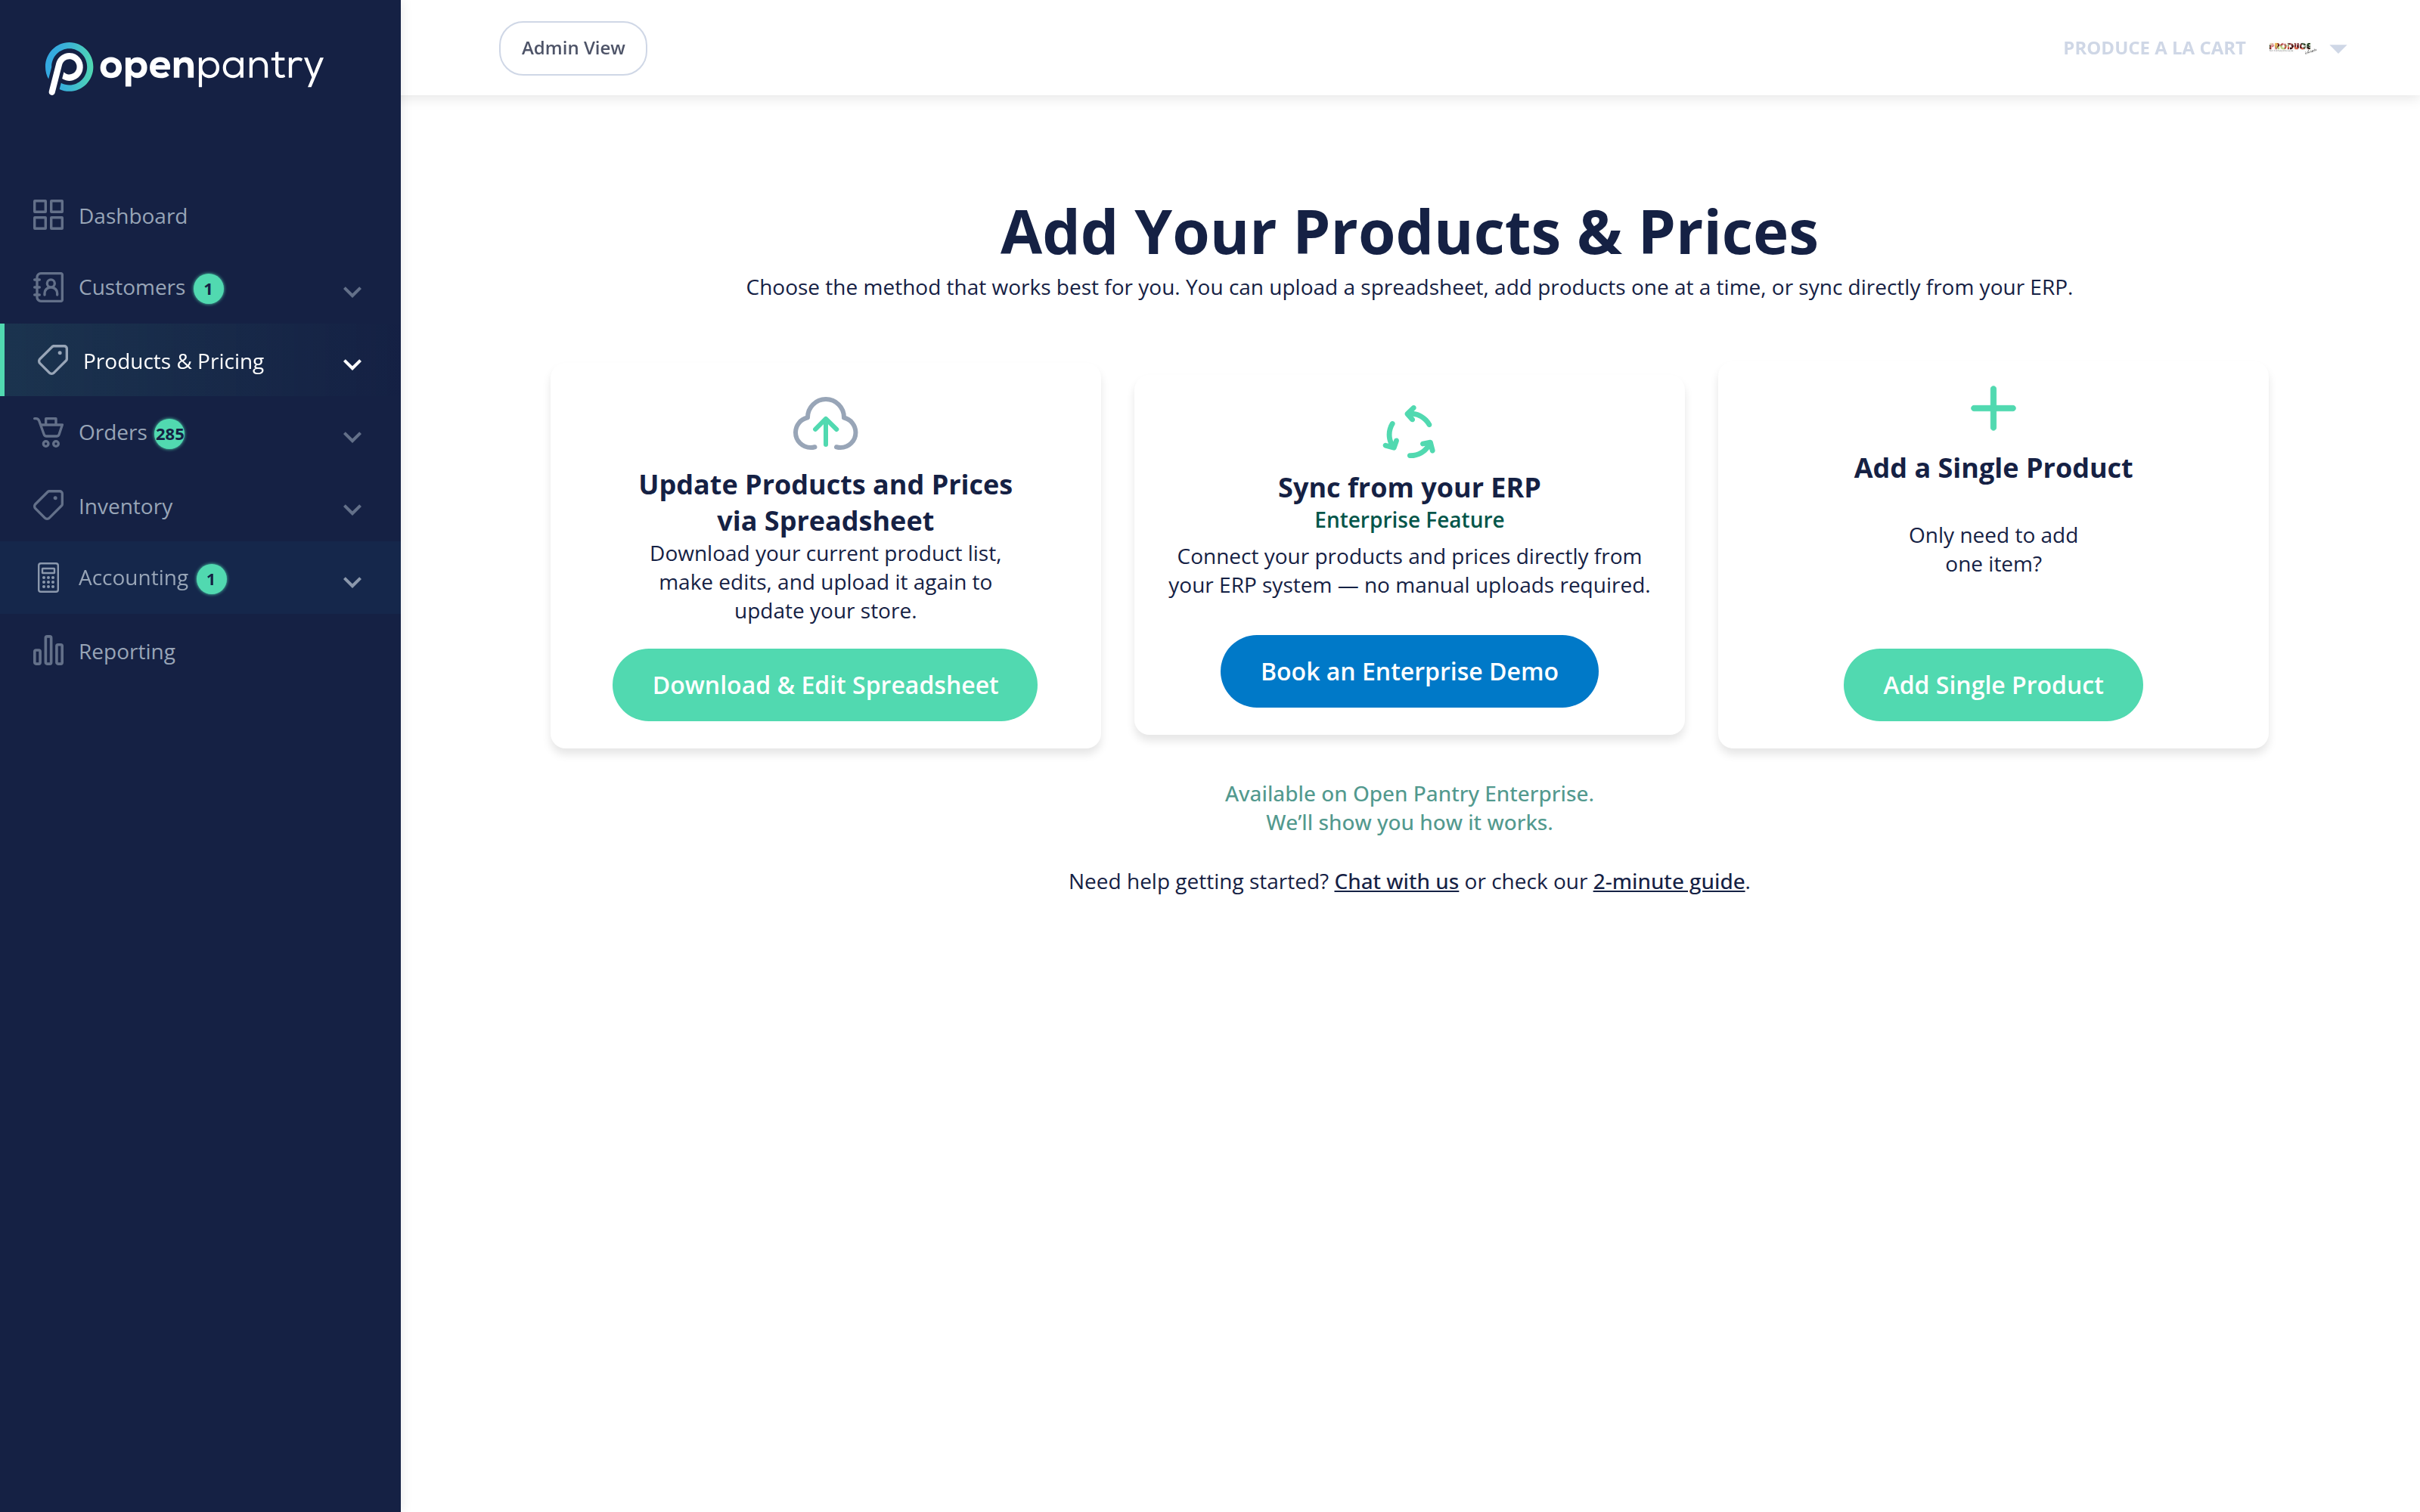
- From the left-hand menu choose Products & Pricing, then Add New Product.
- On the Add Your Products & Prices screen, choose
Download & Edit Spreadsheet. (The other two options
are for syncing from an ERP, or adding a single product by hand.)
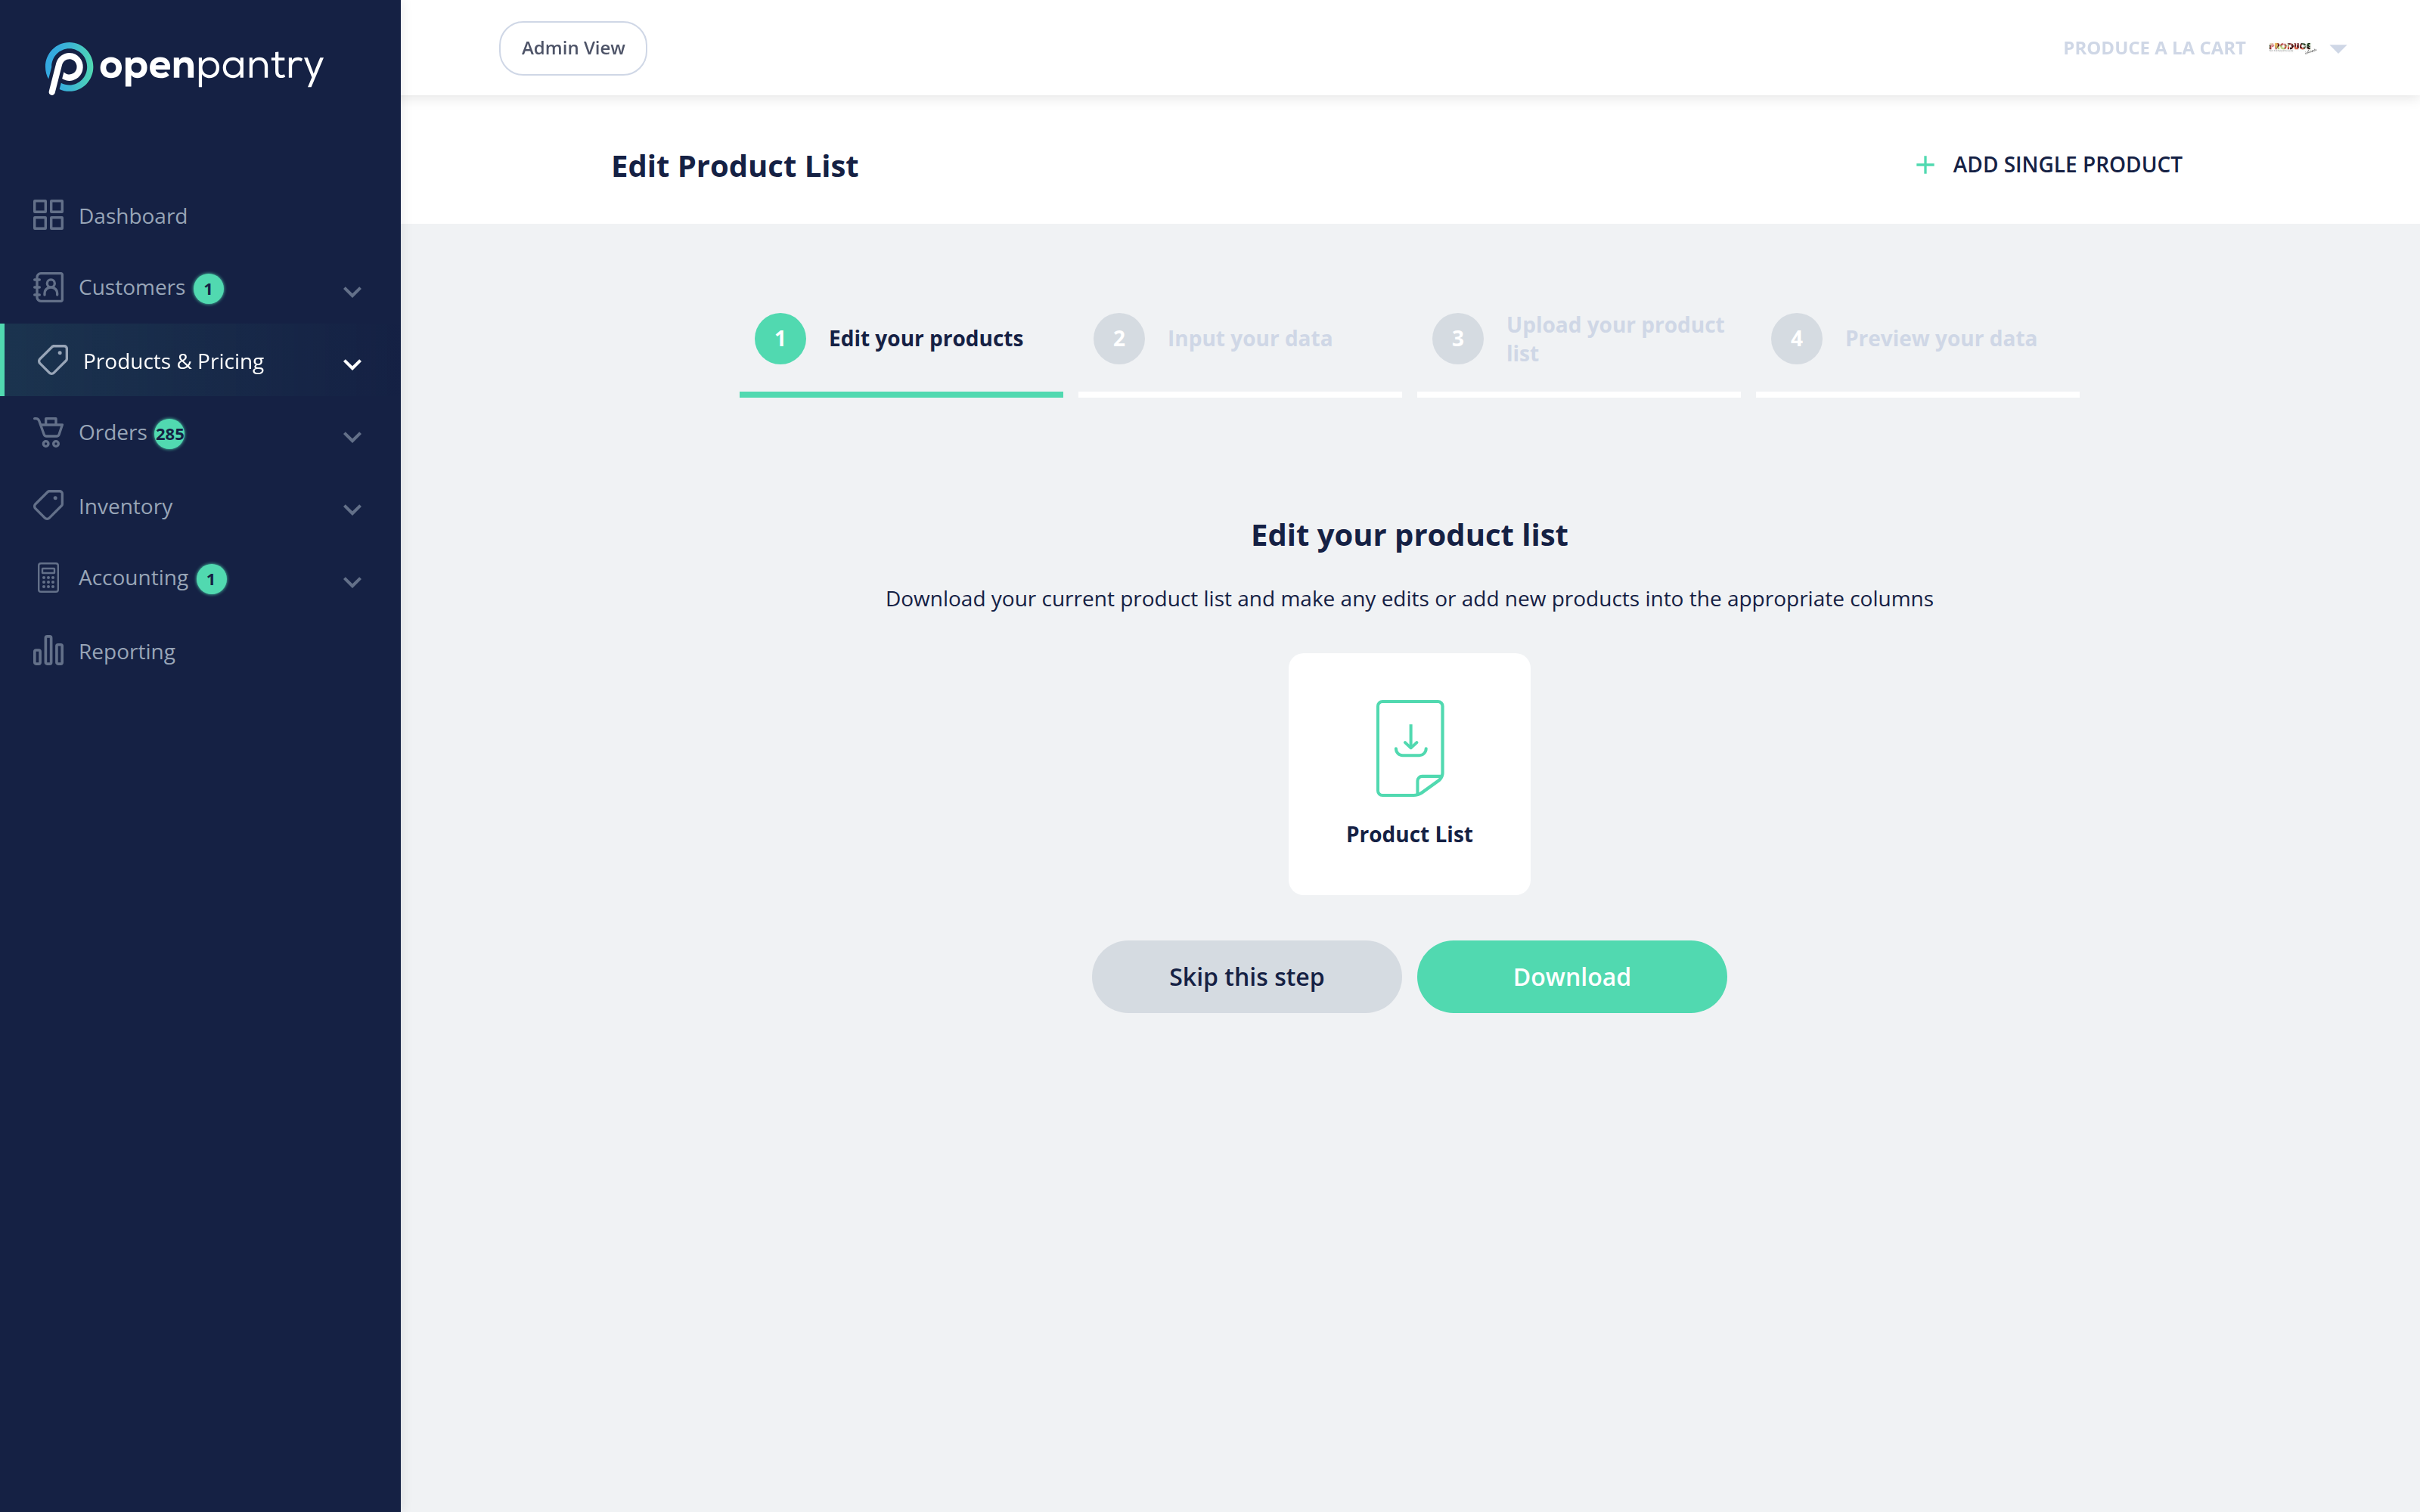
- On step 1, Edit your products, click
Download to get your current product list as a
spreadsheet. We recommend downloading a fresh copy each time you update
products or pricing, rather than reusing an older file — that way you are
editing what is actually in your store today. If you already have your
file ready, you can Skip this step.
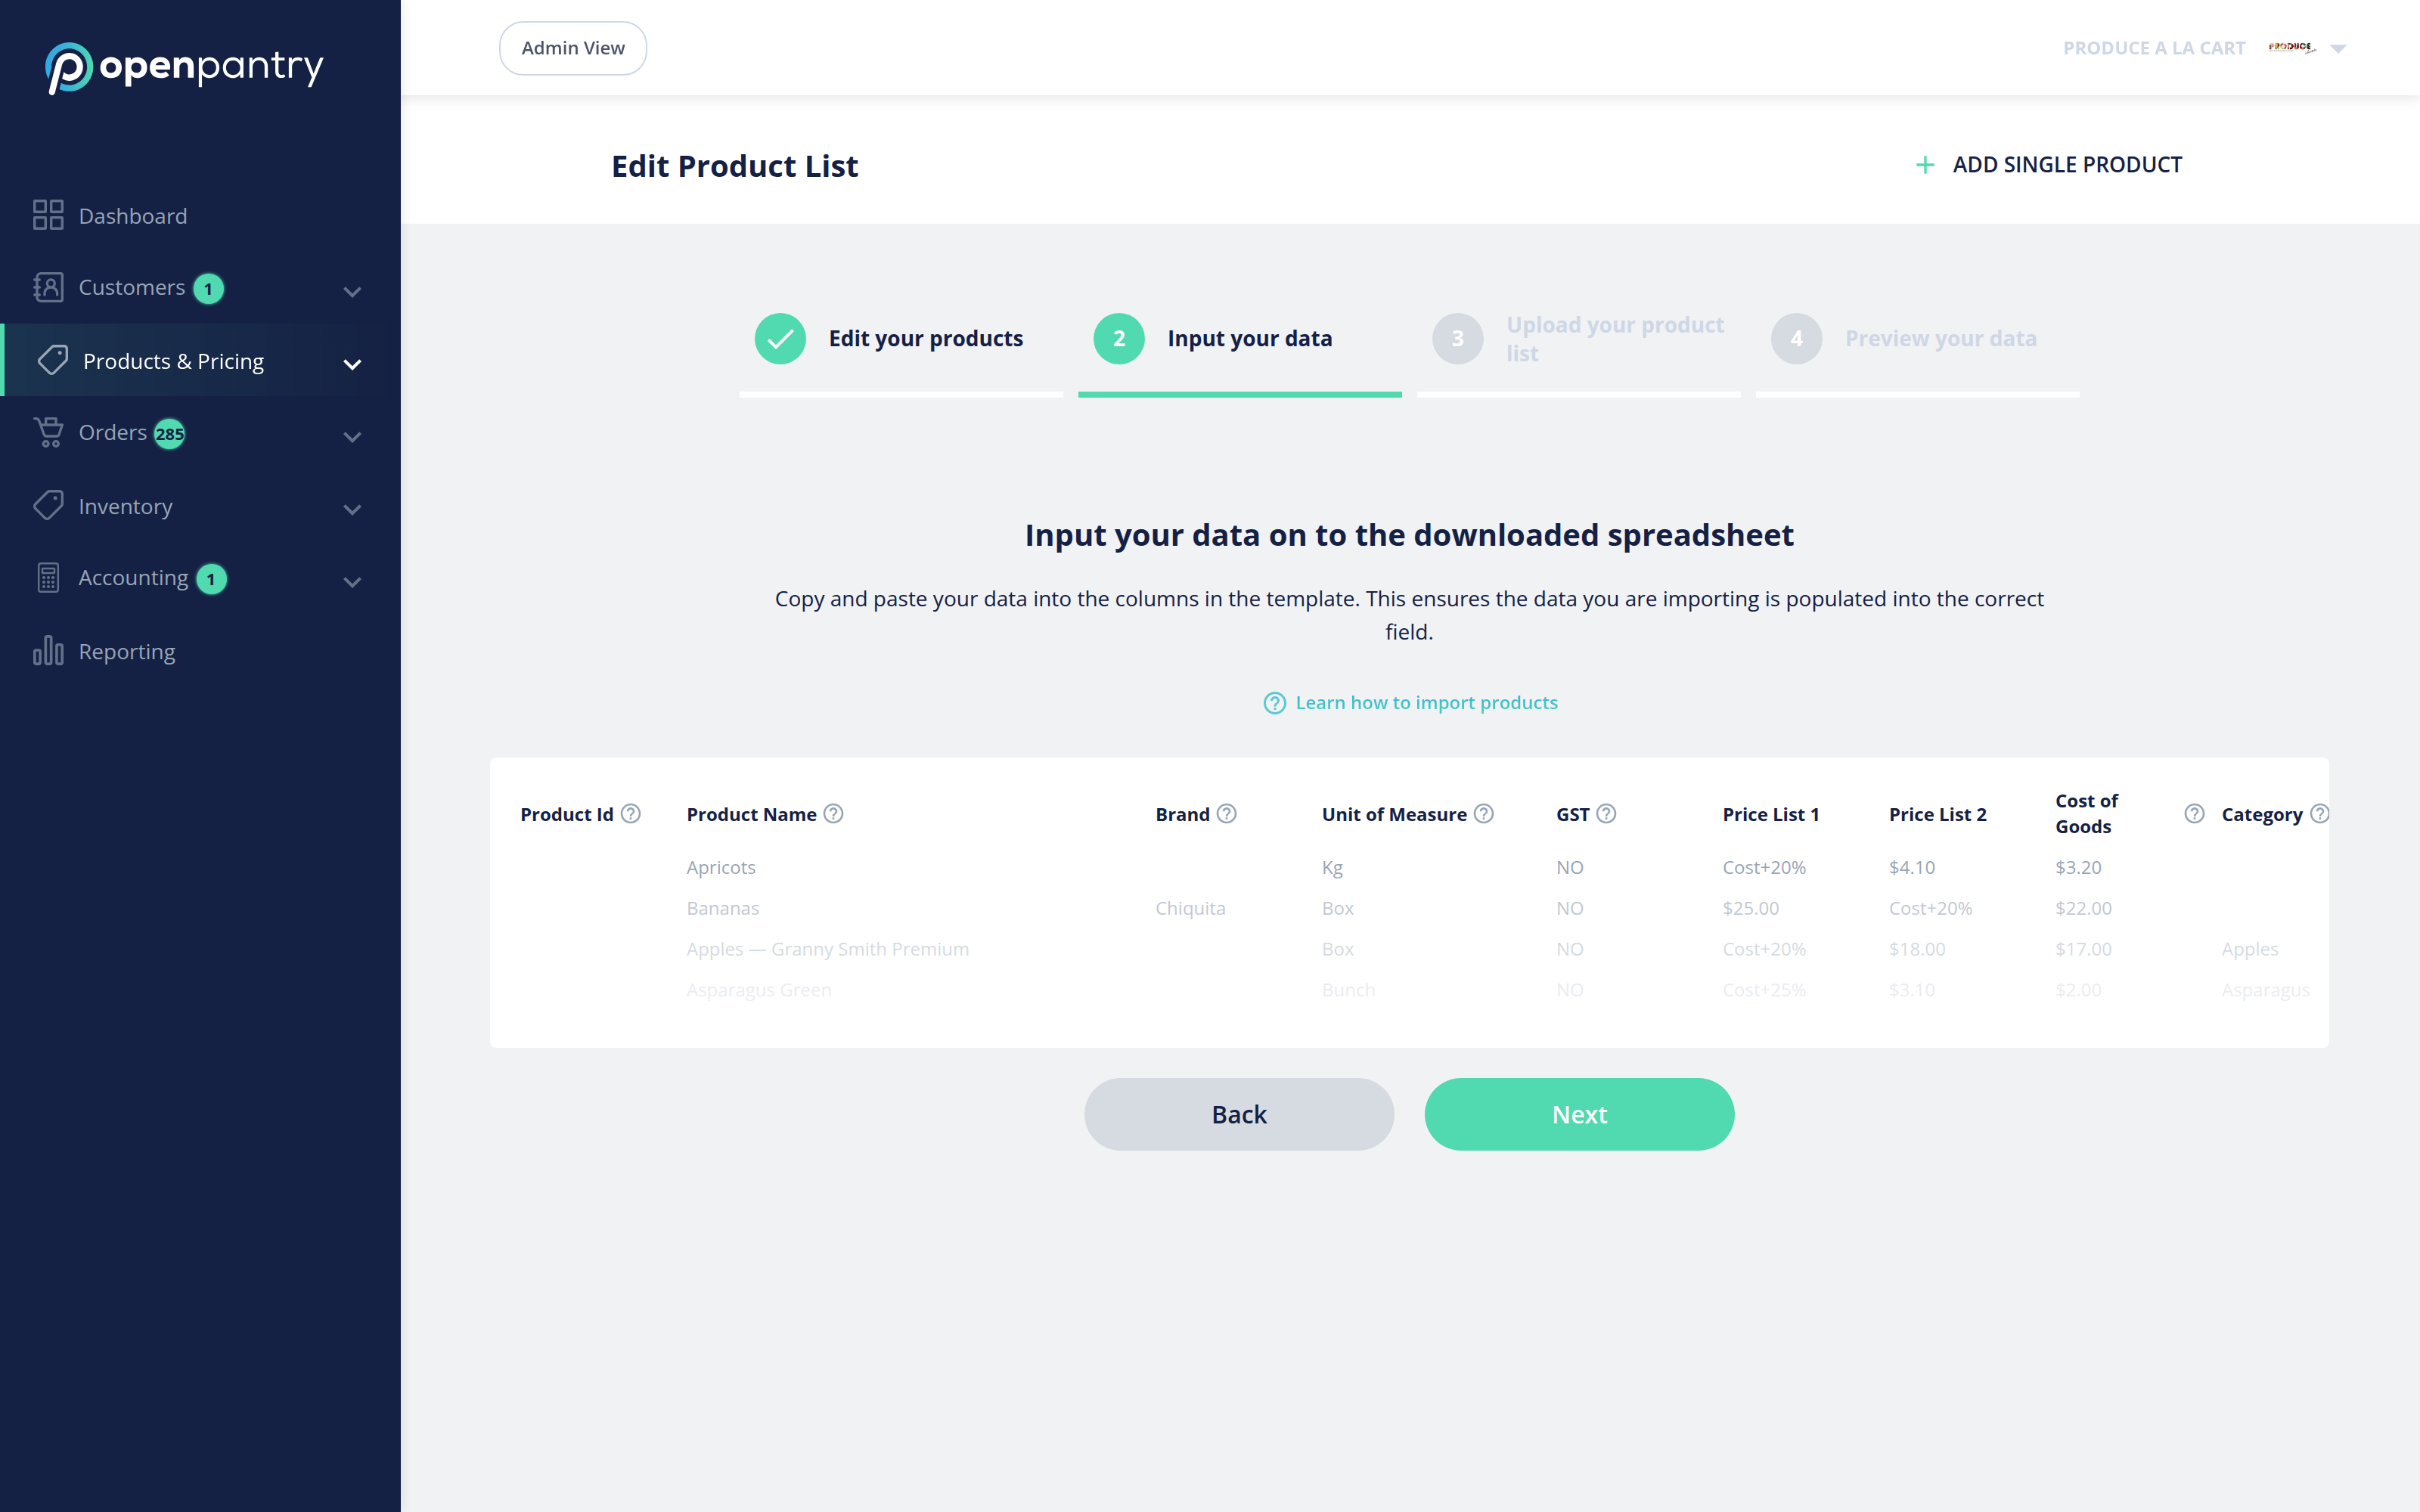
- On step 2, Input your data, copy and paste your
details into the columns already in the template — Name, Brand, Unit of
Measure, Tax, Your cost (what you buy the product for, which is what
profit-based pricing uses) and Sub-category if the item has one. Keeping
to the template's columns is what makes the import land cleanly.
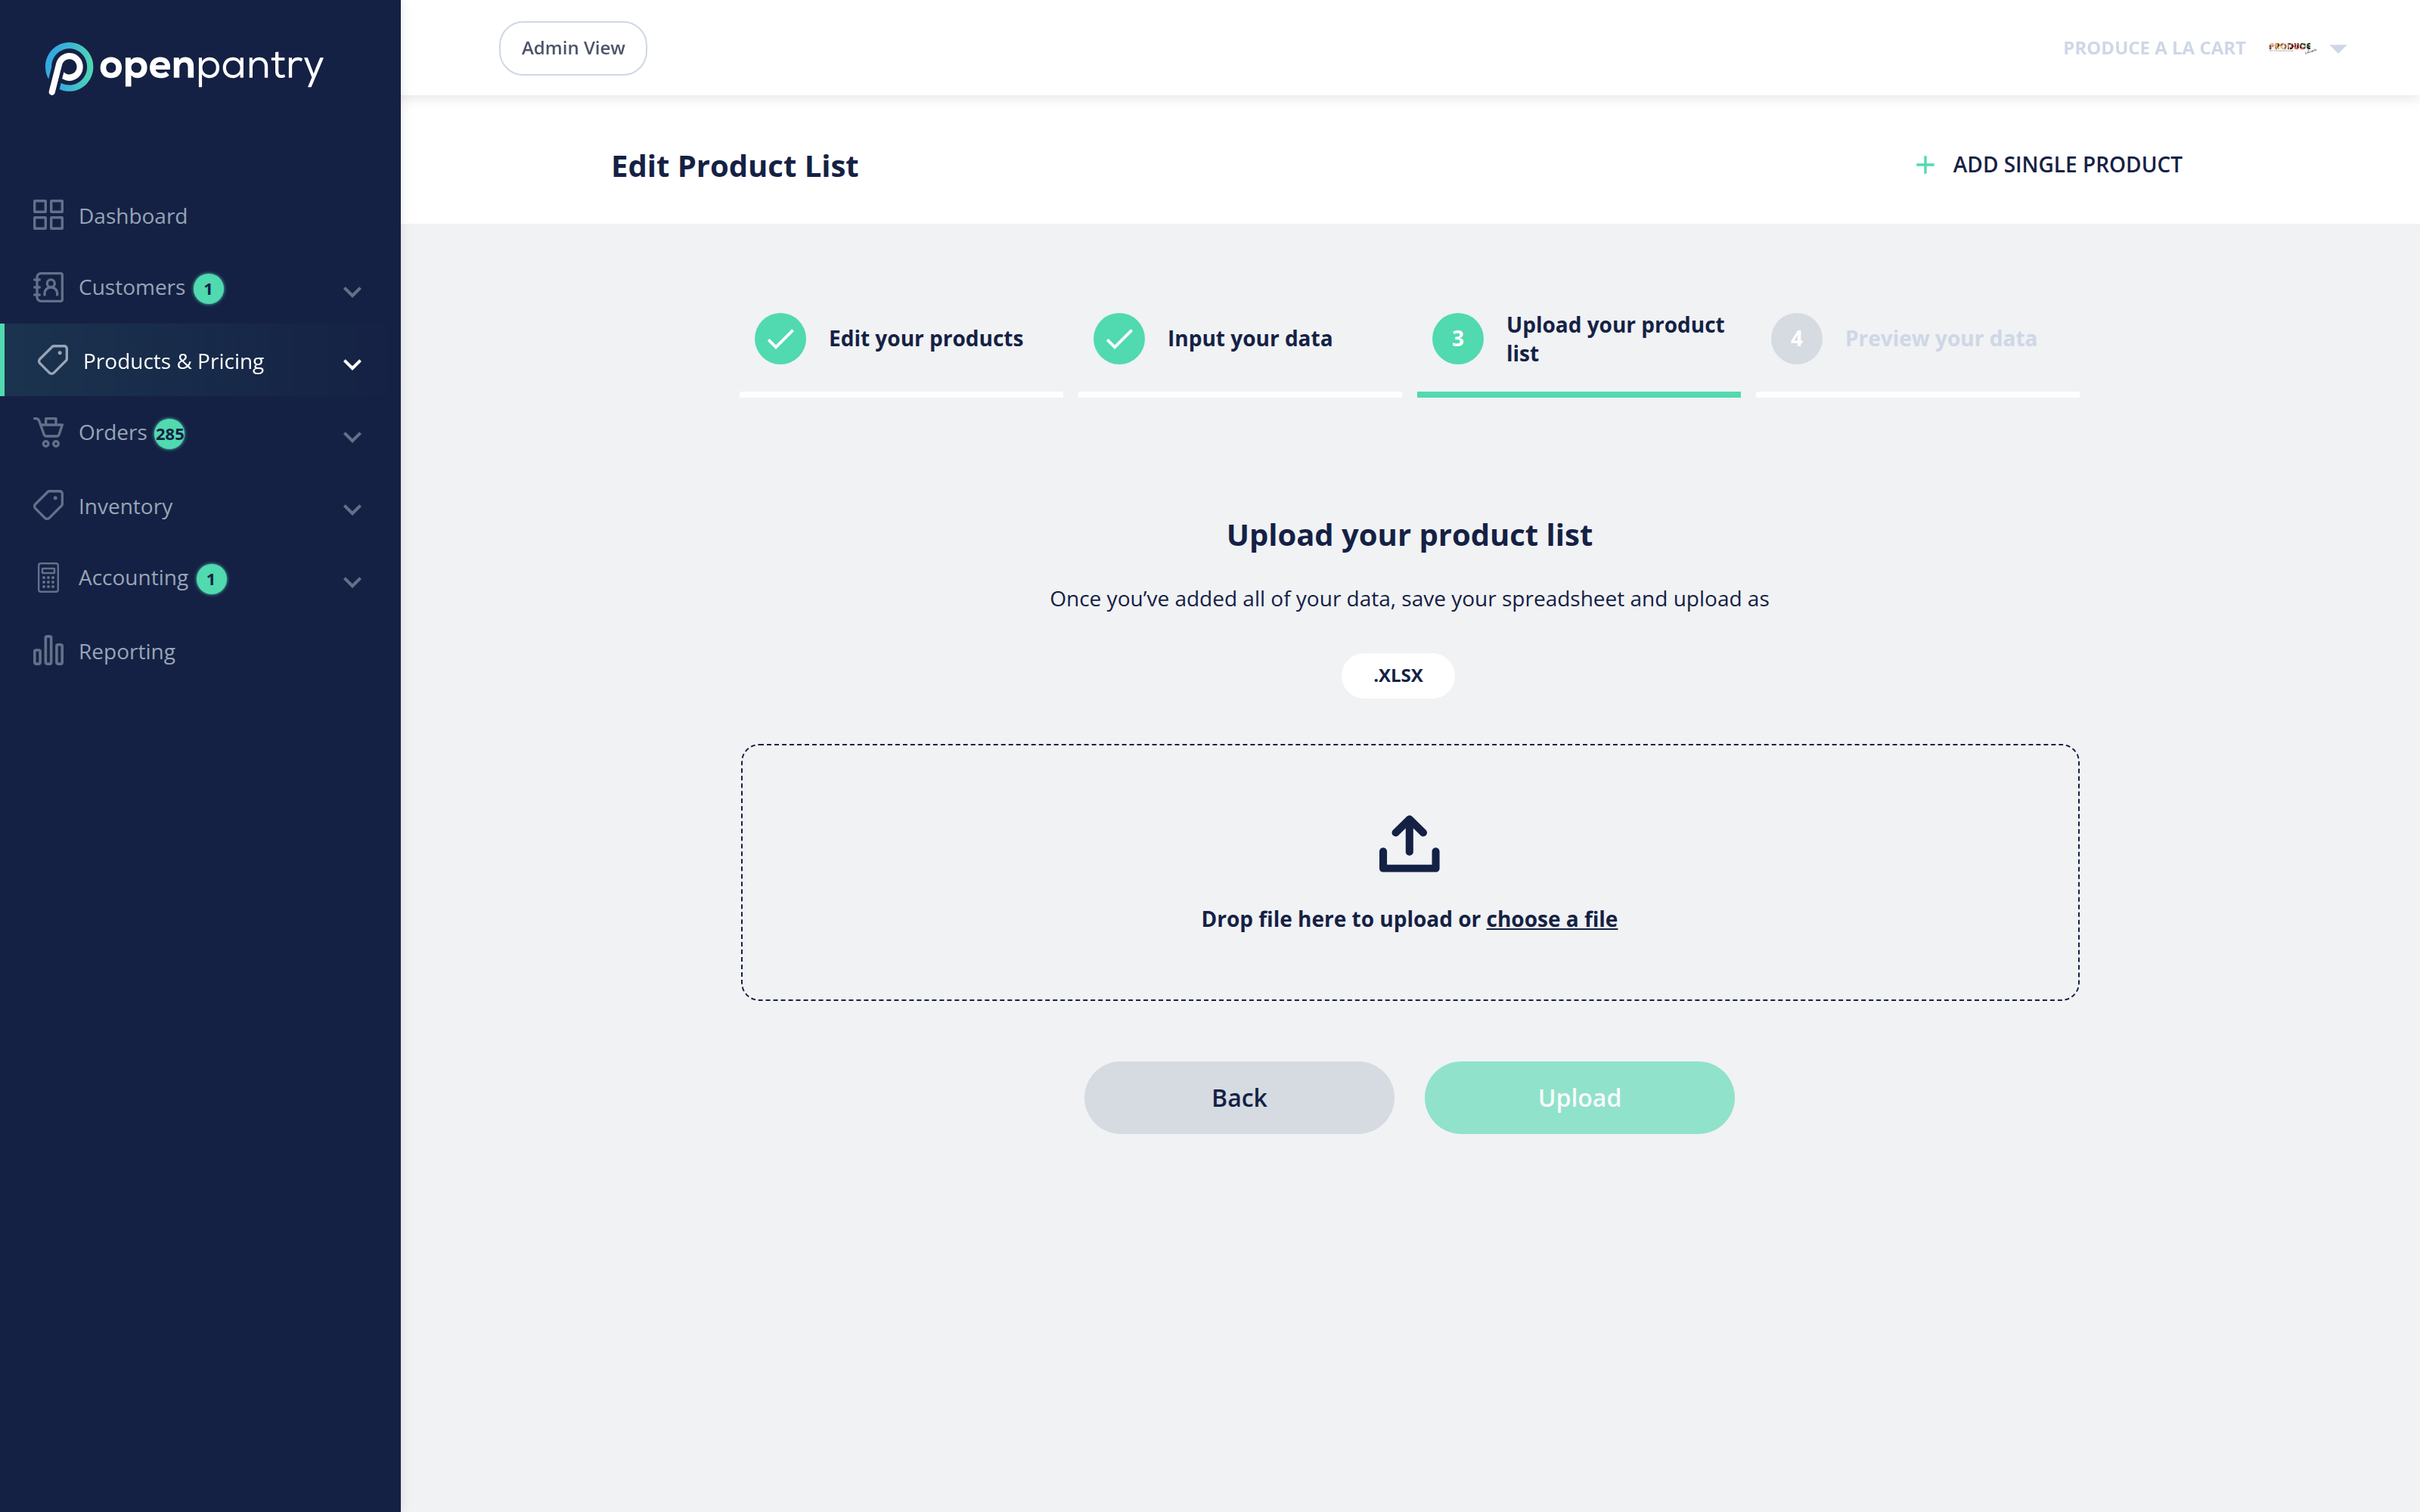
- On step 3, Upload your product list, save your
spreadsheet as .XLSX, then drag the file onto the upload
area or use choose a file. Large lists can take a couple
of minutes to process.
- On step 4, Preview your data, check that each column has landed where you expect — product names under Product Name, prices under the price columns, and so on — before you confirm. Nothing changes in your store until you do.
If a column looks wrong in the preview, go back and adjust the spreadsheet rather than confirming — it is much quicker than correcting products afterwards.